You can use the Settings tab to adjust the dashboard settings, such as the dashboard's name and description, viewing permissions, print settings and avatar setting. The following settings are available:
General
Use the General settings to edit the Title and Description of your dashboard. The information you provide as a description will become available to viewers when they use the info icon located near the dashboard’s print button.
By default, dashboards will be displayed under the Built Dashboard category. To assign the dashboard to a custom category, select an existing option from the Category dropdown menu or create a new category. A new category can be created by typing the category name into the Category field and pressing the Enter key on your keyboard.
The categories shown in the dropdown list indicate those that are currently assigned to dashboards on your site. When there are no dashboards assigned to a category, the category will be removed from the list.
Choose whether your dashboard is enabled for people who are using Teamworks AMS with the mobile app with the View on mobile setting. If enabled for mobile, then your dashboard will display data from all event forms it uses as data sources, regardless of whether those forms have been individually enabled for mobile use.
Use the View on event pages setting to enable dashboards for embedding into event forms. Using this setting means that the site owner can add a dashboard into an event form.
You can choose to disable caching for the dashboard with the Allow dashboard to be cached setting. Caching may be useful in instances where dashboards reference a large dataset and take a long time to load; however, it can be disabled if it's preferred that the data always be refreshed when the dashboard is loaded. For more information on caching, see our article on dashboard caching.
Printing
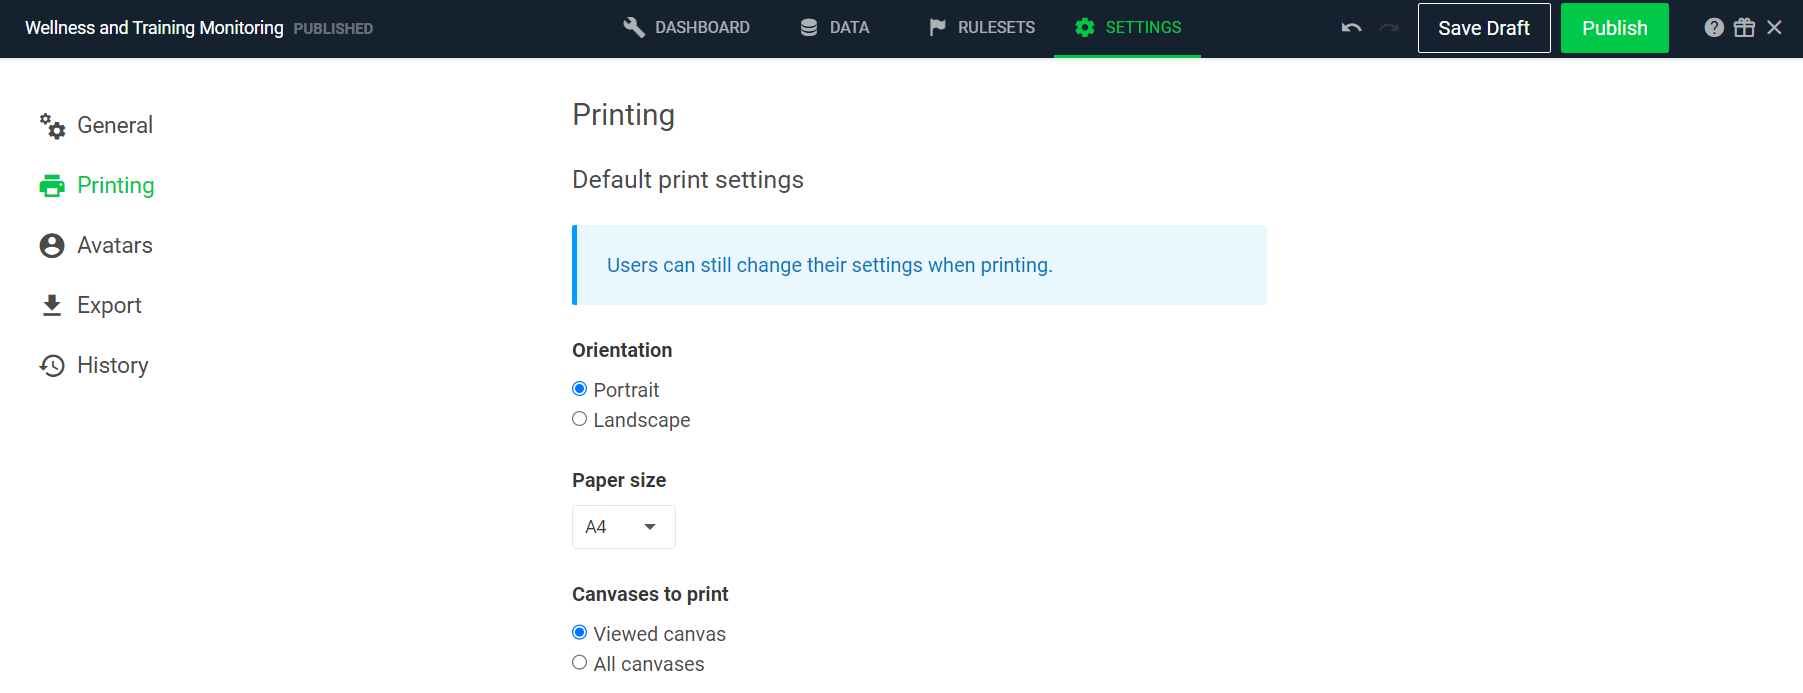
Ensure that your carefully designed dashboards come out perfectly when viewers choose to print them. The Printing settings allow you to set the default behavior for what happens when someone uses the print option (located in the top corner of each dashboard) to create, save or print a PDF version of the dashboard.
Individual users can still select differently, but you can make it more straightforward for them by choosing the Orientation and Paper size of the PDF output. You can also set a default behavior for which dashboard canvases are included in the PDF.
In most dashboards, some sections will be set up to be collapsible by the viewer. If a section is collapsed, it will be completely hidden from the printed output (including the section header), regardless of whether or not the section is set up to show on print in the builder.
Avatars
![]()
An avatar is an image that represents a user account. If a profile photo has been uploaded to the user account, it will be used as the avatar. If no profile photo has been uploaded, the user's first and last name initials will be used instead.
Use the Avatars settings to choose a Color style for all avatars included in your dashboard. You can choose from Full color (default), Grey, Black, or White.
Export
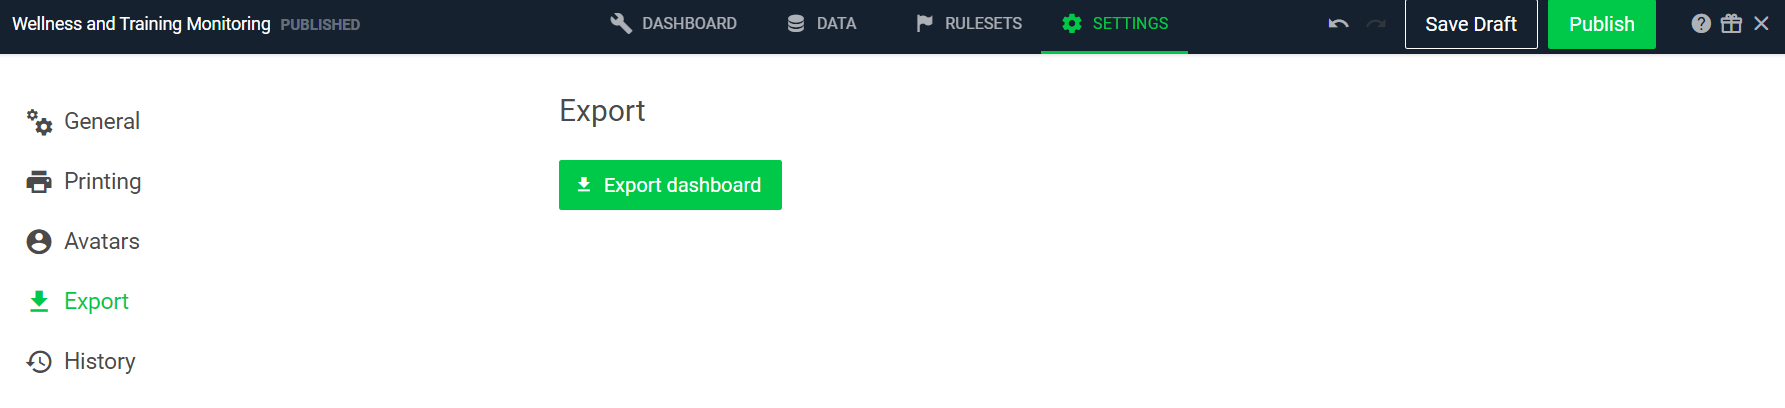
Use the Export settings to export your dashboard as a text file, which can then be used to create new dashboards. This setting is particularly useful for enterprise customers to share dashboards across different child sites.
History
Use the History settings to audit updates to the dashboard. All saved versions of the dashboard will be listed, along with who saved the changes and when.
Select the checkbox next to any two versions to compare what changes were made. Changes are grouped by updates to canvases, data sources, rulesets and settings.